Sunday, January 12, 2014

Encaustic Adventure

In case you are confused, here is encaustic in a nutshell:
One must painstakingly wait for years, sometimes decades for bees to do their bee buzziness and make their wax. Since I can't wait that long, I will war with the many bee nations, invading and pillaging all that I can. The bees have taken to calling me The Painted Pirate and have created clever traps that I narrowly escape time and time again, but that is a story for another day.... After enough hives are invaded and ointment applied to stings, I must then seek out the evasive oil flowers. Yes, evasive. These flowers migrate from country to country and will even hop onto a boat and sail to a different continent to get away from you. The key to catching them is a golden Pok-e-ball, not to catch them with, these flowers are just Pok-e-geeks. So after I sneak up on them, I'll place the ball where they can see it and when they come into close enough range, I jump out and invite them to coffee and a good petal washing. (Always have a huge bucket and sieve for this process as the oil flowers are extremely dirty from all their evading.) During the washing, I harvest the pigment that falls off. The next step is the easiest: I add the wax and pigment inside a tiny volcano so that the ingredients will mix and be molten so that I can start painting.

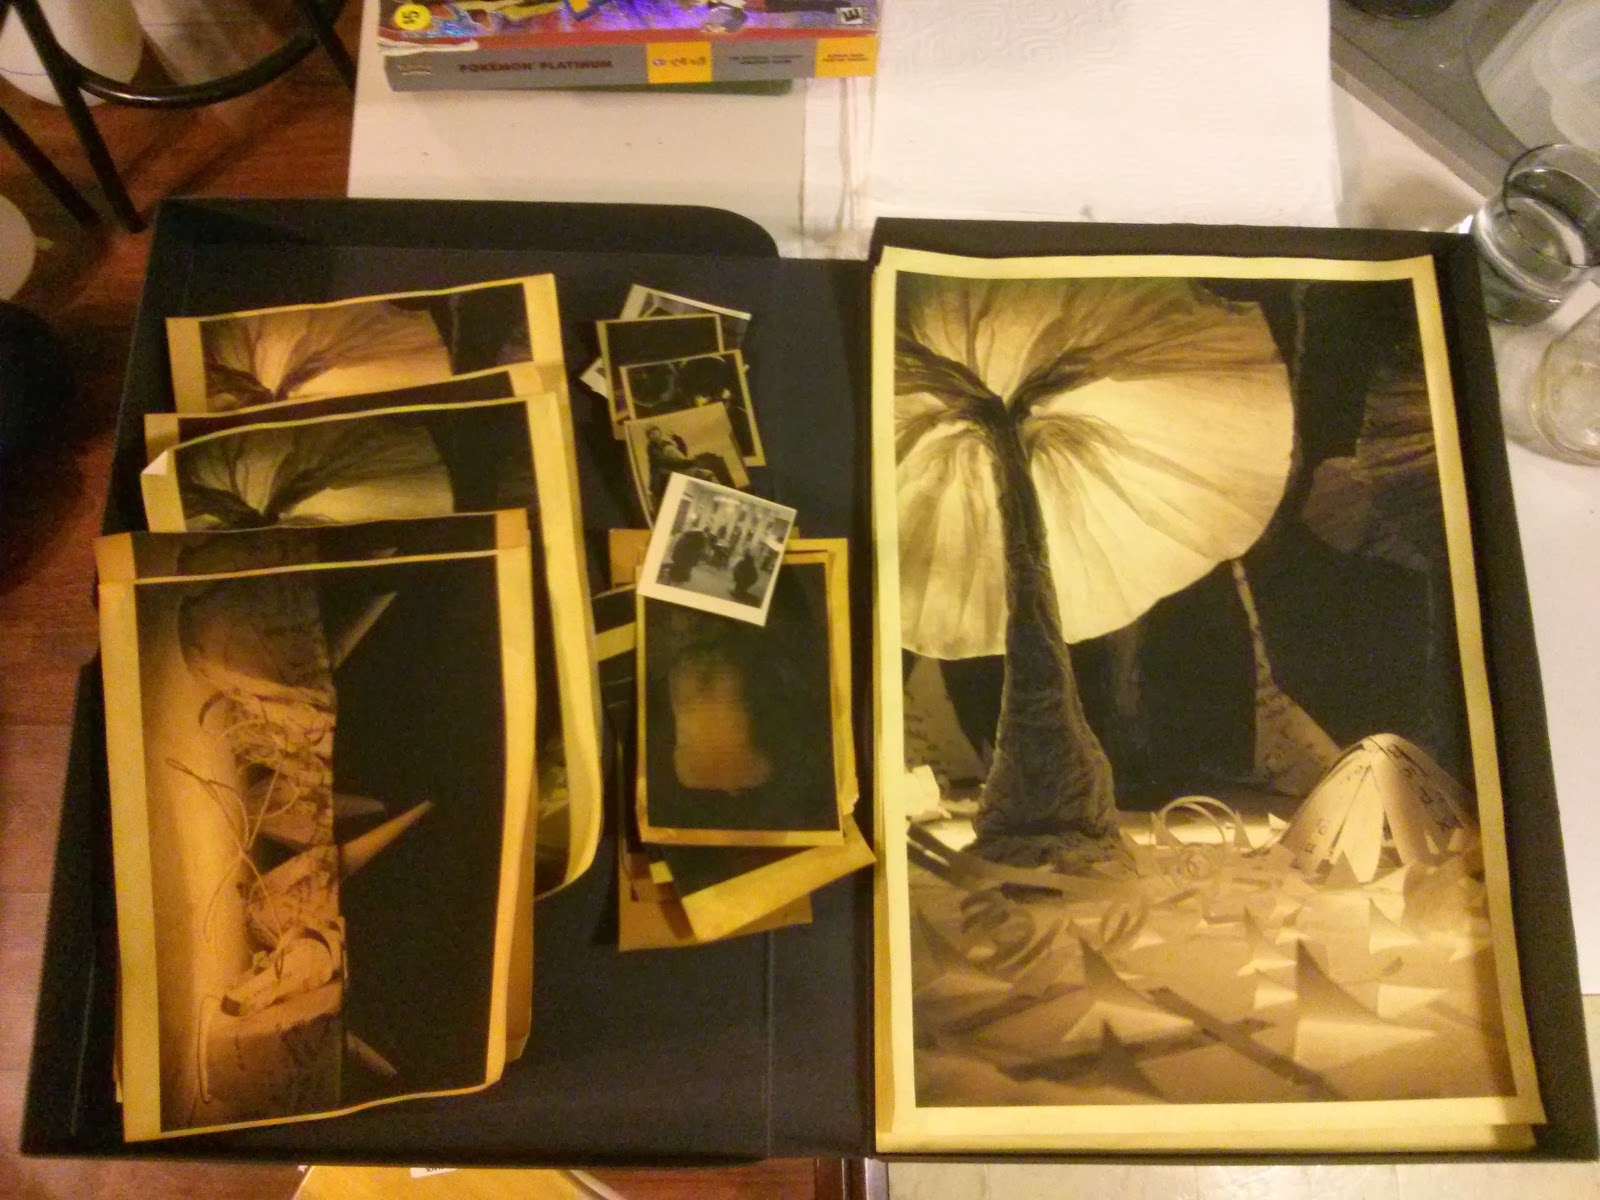
So here are some pictures!
Not shown is the plywood that I use as a 'canvas'. These are 12"x12" and 3/4" thick.


 In order:
1- This was achieved using a scraping technique.
2- I didn't document this step for this piece... I placed a color lazer printed image face down and burnished the hell out of it. My preferred weapon for this step is a metal teaspoon.
3- Spray it with water and start to rub the paper off (hoping that I burnished enough).
4 & 5- It's a lot like developing in the darkroom.
6 & 7- Tada! Oh and I added a string to the bottom so that the string in the image would connect.
8- Ask a painting friend to help paint an area.
9- Optional, add a layer of plain medium to the whole thing and done!


Saturday, January 11, 2014

Photo-encaustic

Last semester I dabbled in photo-encaustic trying to figure out the different techniques and intricacies of the medium to see if it would be applicable to my artistic content.

Here are a few of the earlier experimentations: (and no apologies for the poor image quality, it's my diary so I can do what I want, lol)

I guess it should be stated somewhere in this 'diary' that my work centers on memory and the act of remembrance. Normally, I have focused on grasping at the past’s emotions - fighting through an increasing haze that seems to be covering them like a thin elastic blanket. I can poke at them, but I can't pierce through. And so while experimenting with layering, intarsia, texture, embedding, etc., this body of work (Fall 2013) ended up focusing on the present. (The images below are two shots of the same work, the right image is just a better grid formation.)

And so, through the combination of encaustic painting, layering, photo transfers, objects and papers I create a conversation between the real and the reconstructed, the raw emotion of memory and the veil of recollection. 

Tune in tomorrow as I dive deeper into the making of a few of these pieces. It was and still is a super exciting journey!

Friday, January 10, 2014

Tea staining

Welcome to the first installment of Le Process Diary!

So, over the winter break I needed to stain a few of my photographs to put into a group exhibition at 500X in the upstairs gallery. (The 500X Gallery is located on 500 Exposition Ave Dallas, TX 75226 and the reception is January 11th from 7pm-10pm, and there are tons of great artists and a couple more shows happening at the same time in the downstairs gallery! .....Yes, I know...late notice, I'm working on that.)

Anyways..back to tea staining.. I work in my home and I call my kitchen the "Daylight Darkroom". Yoshi always has to supervise.
I have done tons of test prints using tiny 2x2 contact sheet images to figure out which brand of tea I prefer (I went through about 12 teas from Jasmine to Green to Black to Iced to Pomegranate, etc), and once I've selected about 3 teas I'll start testing on 8x10 test prints. My preferred teas are Albertson's brand (which no longer exists...the brand switched to Essentials and yes, it acts differently), Black Earl Grey and Pomegranate Earl Grey. Sometimes I mix them, it just depends on the mood. I've also found out that not only the duration in the tea bath but the temperature is a big factor on what color they turn (I like mine at about 150 degrees). And so once I'm done testing (which I'm never done testing really as everything turns out unique - I love it) I move on to staining my 12x18 prints. To dry them I will either leave them hanging or put them in the oven (225 for 2 minutes). Then I smoosh them as best as I can so that they will hang straight on the walls. :)
The arrow is pointing to where the prints are hidden. Lol. I use whatever is available at that particular moment. And then viola! Ready to hang! I'm using magnets to hang now: a) lessens the price and b) I'm tired of frames hiding both the tactile and olfactory qualities of my prints (Yes, they smell like tea!)